
Fundamentals · 3 min read
Build a Stable Pool Bridge Arm Without Forcing Your Posture
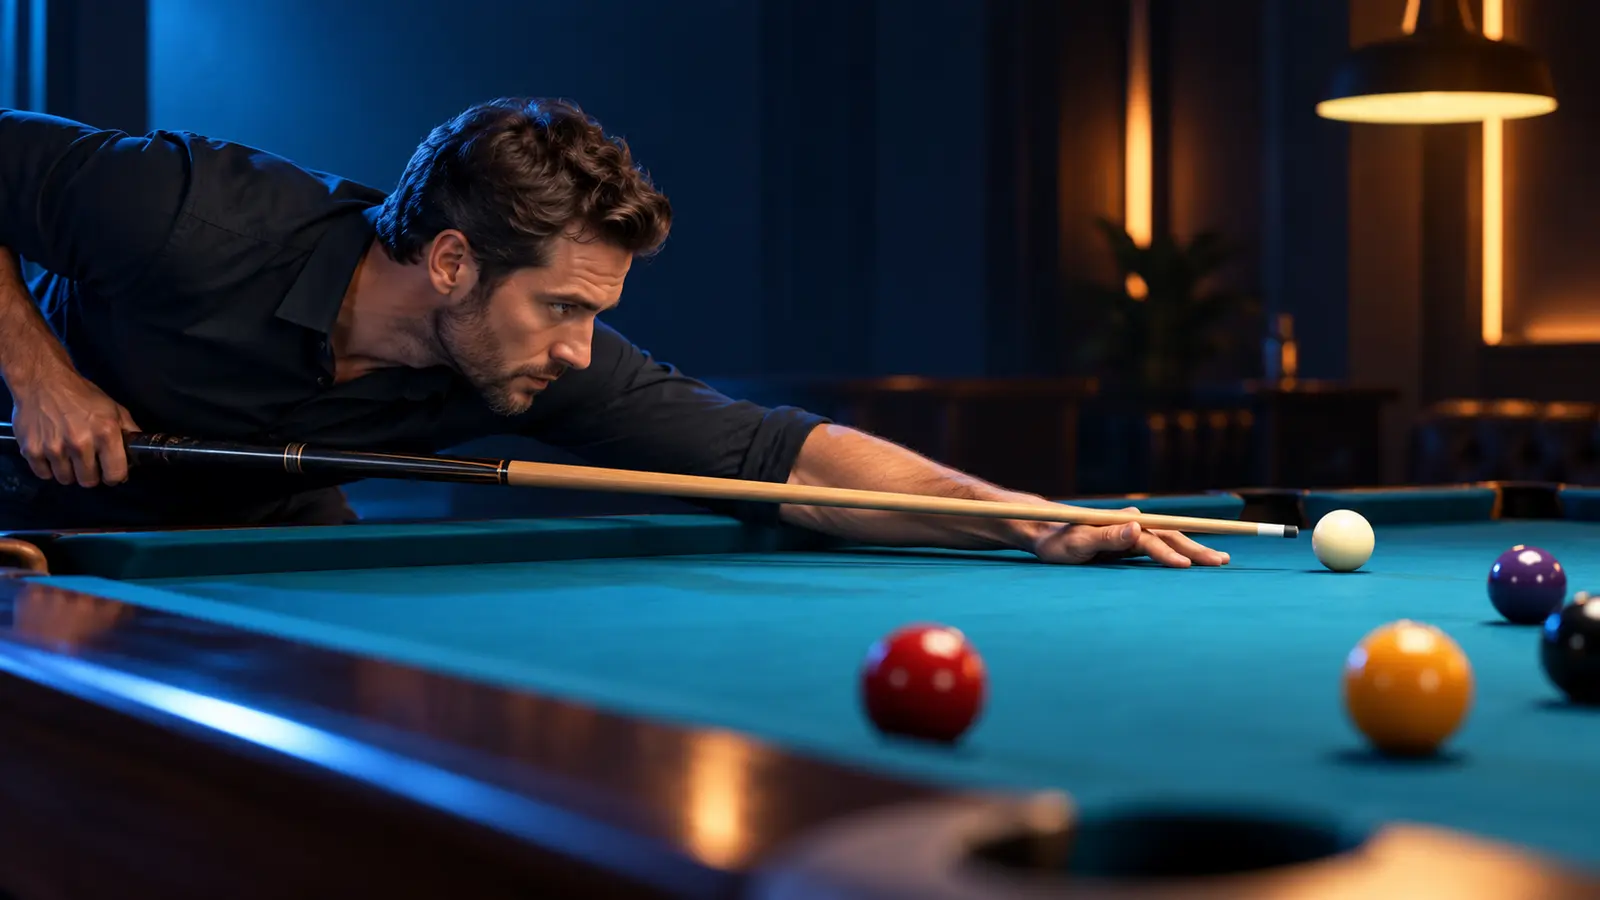
The bridge hand guides the cue, but the whole bridge arm helps determine whether that guide stays still. Some players rest more of the forearm on the table; others must keep the elbow clear because of reach, body proportions or the shot layout. The useful standard is a stable cue channel that does not require pain, strain or last-second movement.
Build support from the table upward
Place the bridge hand first and spread the contact points that comfortably reach the cloth. The heel of the hand and selected fingers should form a base that resists sliding without pressing hard enough to tense the shoulder.
Let the forearm or elbow contact the table when the layout and your body allow it, but do not treat elbow contact as a universal rule. A secure hand can support shots where the arm must remain clear of a ball, rail or pocket.
Keep the cue channel independent
Once the hand is set, move the cue slowly through the bridge. Watch whether the thumb, knuckles or bridge height change as the cue moves. The channel should guide rather than squeeze the shaft.
If the cue rubs or the hand twists, reset the base instead of tightening the fingers. A closed bridge can contain the cue, but it still needs enough clearance for a straight, low-friction stroke.
Separate bridge-arm motion from stroke-arm motion
The bridge arm is the front support; the rear arm delivers the cue. When both move during final delivery, it becomes difficult to tell which motion changed the tip path.
Use warm-up strokes to confirm that the bridge remains quiet while the grip hand swings. If reaching forces the front shoulder or elbow to slide, stand up and choose a different foot position, bridge length or mechanical bridge.
Compare two support positions
Set up a medium-length straight shot and mark the ball positions with removable training spots if the venue permits. Shoot one block with your ordinary arm support and one with slightly more forearm support on the cloth.
Keep speed, bridge length and cue-ball contact constant. Score pocket entry and cue-ball finish, and note comfort separately. A small sample identifies what to test next; it does not prove that one posture is best for every player.
Adapt to rails and awkward reach
On rail shots, raise the bridge only as much as needed to clear the cushion while keeping the cue as level as the shot permits. For long reaches, use a mechanical bridge before stretching into an unstable position.
Persistent pain, numbness or restricted movement is not a technique problem to push through. Stop and consult an appropriately qualified health professional when needed.
Use a five-point bridge check
- The hand has broad, secure contact with the cloth or rail.
- The cue slides without pinching or moving the thumb.
- The bridge arm remains quiet during warm-up strokes.
- The shoulder and neck feel unforced.
- You can reproduce the support after standing up and approaching again.