
Specialty shots · 5 min read
How to Practice Pool Jump Shots Safely and Legally
A reliable jump shot is a precision skill, not a contest to hit the cue ball as hard as possible. The cue must strike down into the upper surface of the cue ball so the ball compresses against the cloth and rebounds. Trying to scoop under it is unsafe, risks cloth damage and is not the technique to practice. Begin only where jump shots are permitted, use suitable equipment and judge success by the contact and landing you control after clearing the blocker.
Check the room, table and rules first
Ask the table owner whether jump practice is allowed. Some rooms prohibit elevated cue shots because repeated mistakes can mark or tear cloth. Place no coins, chalk cubes or rigid objects on the cloth as obstacles. Use real balls and begin with enough separation that your cue, bridge hand and follow through stay clear of the blocker.
Rules and equipment restrictions can vary by event. The World Pool Association publishes the current World Pool Rules, but a tournament may also issue event conditions covering jump cues. Confirm those conditions before a match instead of assuming the cue you practice with is permitted everywhere.
Understand what makes the cue ball leave the cloth
The cue is elevated and strikes the cue ball above its equator. That downward component compresses the ball and cloth, and the rebound produces the jump. A steeper cue angle generally helps the ball rise sooner, while a shallower angle produces a longer, lower flight. Clearance height, distance to the blocker and available landing space should decide which trajectory you attempt.
Power alone is a poor solution. A smooth, quick stroke with a light grip is easier to repeat than a violent jab. Keep the bridge stable, give the cue a clear channel and let the cue tip complete its motion. If the tip slides under the cue ball or the cloth receives the blow, stop and correct the setup before taking another attempt.
Build the shot in a safe progression
- Start with the cue ball well away from a single obstacle and use a large landing zone.
- Begin with the blocker offset so only a small part of its silhouette overlaps the intended line; increase overlap gradually only after clean controlled clearance. Do not deliberately collide with a blocker as a clearance target.
- Move the obstacle closer only after the cue ball repeatedly lands on the intended line.
- Add an object ball target after clearance and landing are dependable.
- Finish with game shaped escapes that include a legal hit and a planned cue ball destination.
Aim the landing before the object ball
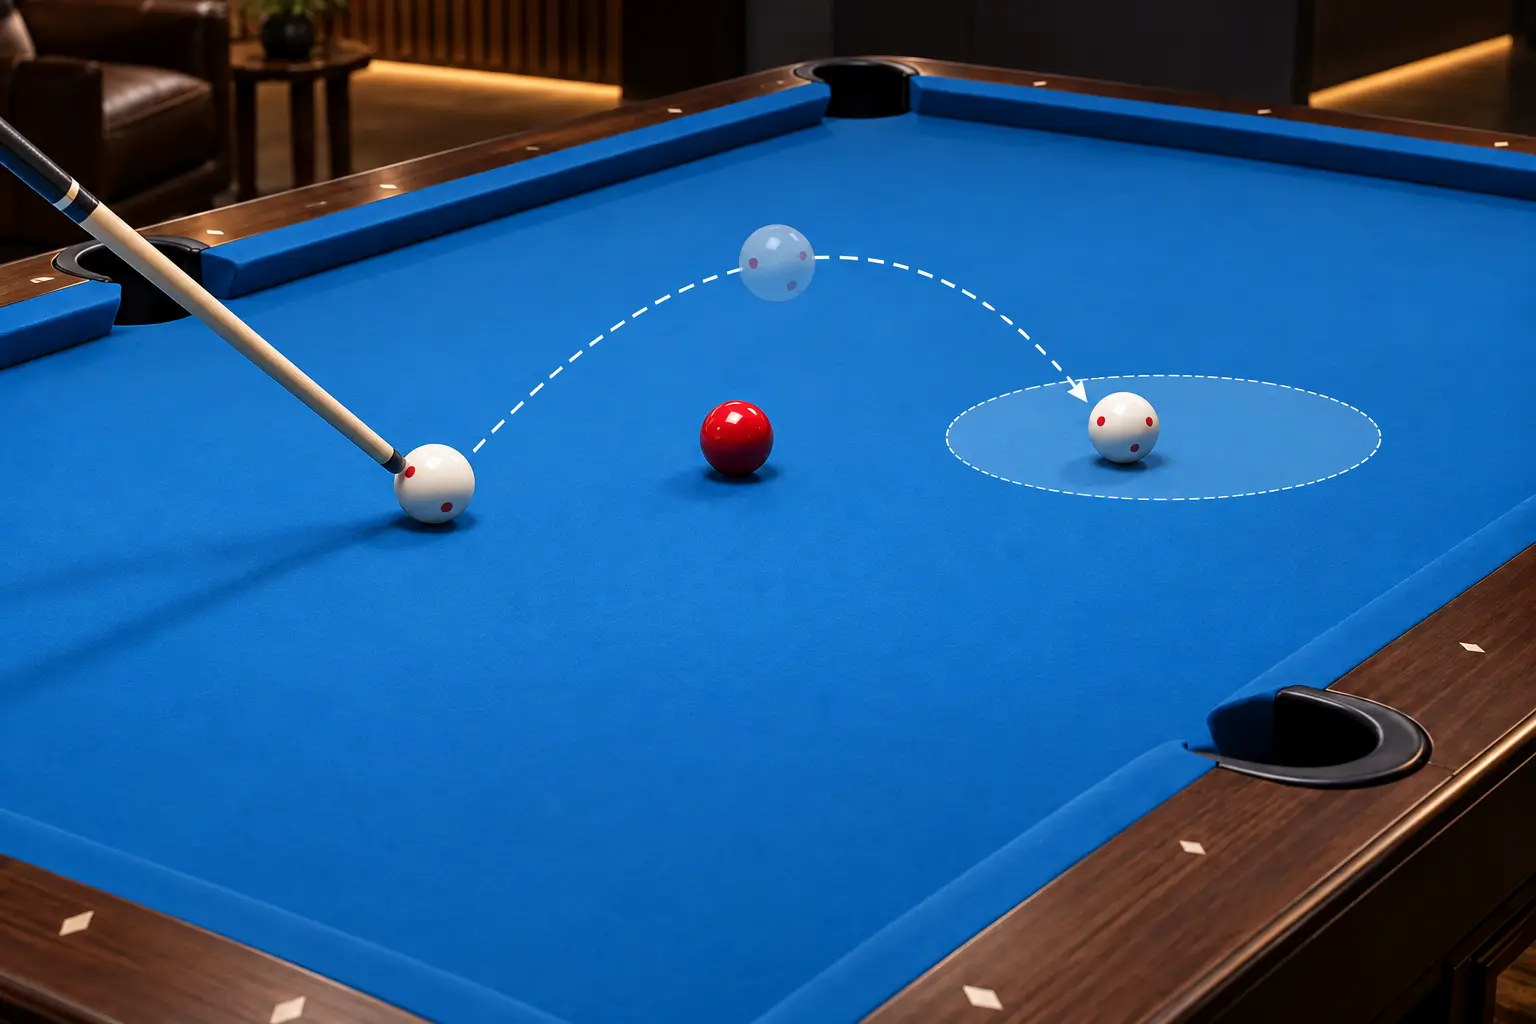
The cue ball is difficult to control while airborne, so pick a landing area that leaves room before the target. A ball that lands immediately on another ball can rebound unpredictably. Mark a generous zone with removable paper targets placed off the actual line of travel, or use visual table references that do not interfere with the balls.
Record three results separately: whether the blocker was cleared, where the cue ball first landed and whether the intended object ball contact occurred. That separates an elevation problem from an aim problem. It also discourages counting a lucky collision as a well executed jump.
Control the equipment variables
A purpose built jump cue is short and light, and its hard tip transfers energy quickly. Use equipment that is in good condition and inspect the tip before practice. A loose joint, damaged tip or slick contact surface makes an already demanding stroke less predictable.
Chalk lightly and keep the cue ball clean. Do not apply household products to the ball or cloth. If you change jump cues, repeat the easiest calibration shots because weight, tip hardness and balance can change the elevation and speed you need.
Know when not to jump
A jump is not automatically the percentage play. Compare it with a kick, safety or intentional foul allowed by the game situation. If the landing area is tiny, the object ball is close to a rail or a scratch route is prominent, another option may offer a larger margin.
During practice, stop when your bridge becomes unstable or you begin striking harder to compensate for fatigue. A few accurate attempts with notes teach more than a long session of uncontrolled impacts. Specialty shots should expand decision making, not replace dependable kicking and safety skills.
Use a measurable ten shot test
Use a nine-foot 100 by 50 inch playing surface measured cushion nose to cushion nose. With the origin at the head-left cushion corner, place the cue-ball center at (25, 25), the blocker center at (45, 25) and the target-ball center at (82, 25), all in inches. Mark the landing rectangle from x = 60 to 72 and y = 20 to 30. On another table, multiply every x coordinate by its playing-surface length divided by 100 and every y coordinate by its width divided by 50.
Shoot ten attempts with the same cue angle and speed intention. Score one point for clearing the blocker and one for first landing inside that rectangle. Award a third point only when the later target-ball contact is legal and the cue ball stays on the table. A maximum of thirty makes each failure visible without pretending every miss has the same cause.
Repeat the test on another day before increasing difficulty. When the score is stable, reduce the landing zone or move the blocker slightly. Preserve the layout and your notes so improvement reflects better execution rather than an easier setup.
Sources and further reading
References support the specific factual information above. The practical checklists are Ariakon editorial guidance.