
Equipment care · 4 min read
Pool Cue Tip Care: Inspect, Chalk and Maintain with Restraint
Cue-tip care should respond to an observed condition. Chalking covers the playing surface, scuffing changes surface texture and shaping changes the crown. Treat them as separate tasks. Inspect first, protect the surrounding front end and hand structural or uncertain work to a qualified cue technician.
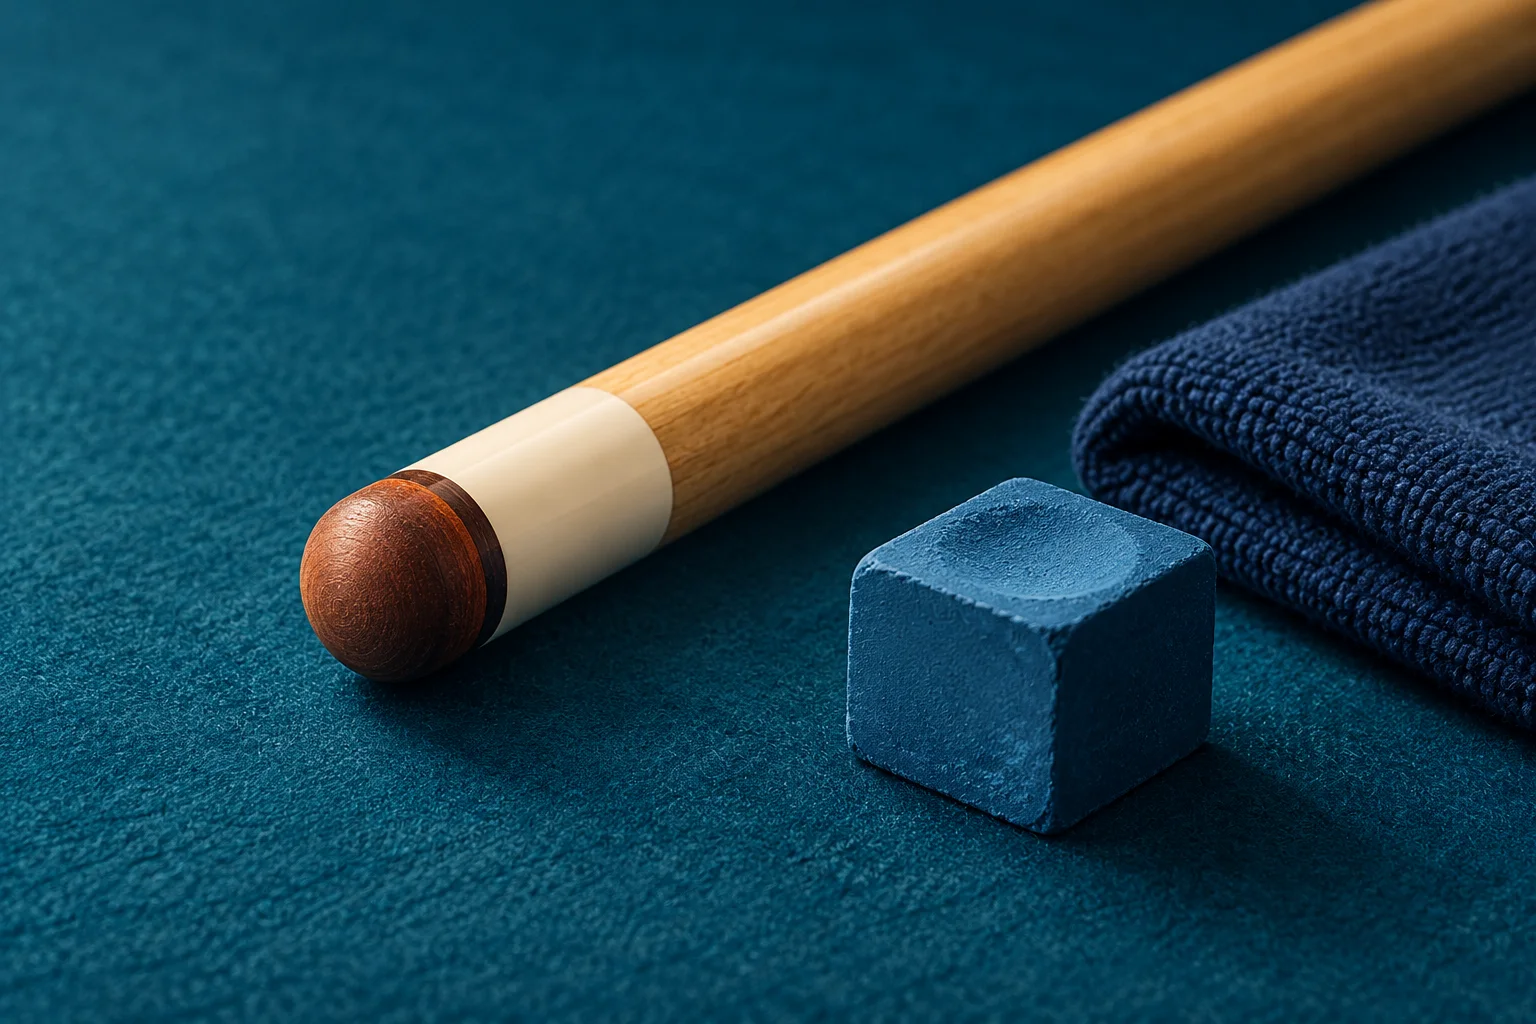
Inspect five areas before selecting a task
Use good light and compare with an earlier photograph when available. A change in feel is a reason to inspect, not a diagnosis. Stop play for a loose tip, opening bond, damaged support part or condition you cannot identify.
| Area | Look for | Stop condition |
|---|---|---|
| Playing surface | Even crown, clean edge and chalk coverage | Missing material or deep cut |
| Sidewall | Remaining height and even profile | Severe mushrooming or unknown safe limit |
| Layers | Closed, even bond lines where applicable | Opening or separation |
| Base bond | Continuous attachment to pad/ferrule system | Gap, movement or new sound |
| Front end | Undamaged ferrule, pad, plate and shaft | Crack, looseness or tool contact risk |
Name the maintenance task before touching a tool
Write the observed problem and the selected task in one sentence. If the sentence says only that a tool is available or a calendar date has arrived, no maintenance need has been established.
Use instructions for the actual tip, shaft and tool. There is no universal shaping schedule or minimum tip height for every construction.
| Task | Purpose | Not the same as |
|---|---|---|
| Chalking | Cover the playing crown evenly | Removing material |
| Light scuffing | Refresh surface texture when documented and needed | Changing the crown radius |
| Shaping | Correct the crown profile within maker/installer limits | Routine pre-session care |
| Sidewall work | Address a documented side condition | A universal do-it-yourself step |
| Replacement | Restore a safe installed tip system | More aggressive maintenance |
Chalk evenly before changing the tip
Use light passes across the crown and check visually for bare areas, including near the edge. Keep the chalk controlled instead of drilling the tip into the center of a cube. Set chalk away from the shot path and keep loose dust off the shaft and table.
After a miscue, record the attempted contact point, chalk coverage and cue delivery before blaming the tip. Use a modest familiar shot for the recheck. Changing the crown cannot correct every off-center strike or steering error.
Use the detailed chalking procedure when chalk application is the identified task.
Set a material-removal limit before scuffing or shaping
The current World Pool Association equipment specification limits competition cue-tip material and maximum width; it does not provide a universal repair method. The cue maker, tip maker, installer and technician remain the relevant sources for model-specific service limits.
Do not sand a shaft or ferrule as collateral work. If the tool cannot stay on the intended tip surface, stop.
| Step | Action | Decision |
|---|---|---|
| 1 — Protect | Shield ferrule, pad, plate and shaft from the working surface | Hand off if isolation is unreliable |
| 2 — Limit | Choose the smallest permitted pass count or change | Do not begin without a stop rule |
| 3 — Work | Keep the tool confined to the intended tip area | Stop immediately for slip or unknown resistance |
| 4 — Clean | Remove loose debris without spreading it | No coating or improvised solvent |
| 5 — Recheck | Inspect crown, sidewall, bond and front end again | Repeat only when the original problem remains and instructions allow it |
Keep playing, break and jump tip routines separate
Identify whether the installed tip is leather, another fibrous or pliable material, or a different specialty construction before applying a routine. A hard break or jump tip can have different service instructions from a leather playing tip. Hardness alone does not reveal the safe tool, pass count or replacement threshold.
Record the installed tip identity and service history. When identity or compatibility is unknown, the correct next step is a handoff—not a universal internet recipe.
Use the HANDOFF gate
Worked example: chalk coverage is uneven but the crown, sidewall and bonds pass inspection. The selected task is chalking, not shaping. After even coverage and four familiar center-ball shots, the issue is rechecked. If a structural gap had been present, no test shot or abrasive step would be appropriate.
After professional service, begin with familiar shots and verify that the front end feels secure. Keep the installed tip identity and service date for the next inspection.
- Loose tip or visible opening at the base bond.
- Separated layers or missing tip material.
- Cracked, loose or damaged ferrule, pad, plate or shaft front end.
- Unknown tip identity with no reliable service limit.
- Tool contact cannot be confined to the intended area.
- The same defect remains after the documented bounded step.
Use tip tools without damaging the tip for a dedicated tool-safety workflow.
Decide between self-replacement and a technician when maintenance is no longer enough.
Compare shaping and scuffing functions for a narrower function-by-function comparison.
Sources and further reading
References support the specific factual information above. The practical checklists are Ariakon editorial guidance.